Blob Kit Slime Mold Basic Cultivation Guide
click here to get your own blob kit today

Slime Mold Basic Grow Kit
- yellow agar capsule
- black charcoal capsule (optional)
- mini cup with (with 50ml tap water)
- 90mm petri dish
- Tweezers
- Pipette
- Small pot or microwave-safe container
- Slime sample on paper
Agar Preparation Instructions
The first step is to prepare a moist bed of our slime to grow on. We will make a bed of agar gel for it to live on:
1. Add 1 mini cup of 50ml cold tap water to your pot or microwave container.
2. Open 1 yellow capsule over the container and empty the contents in. Do not put the whole capsule in.
3. You may optionally open a black capsule (containing charcoal) and add its contents to the mix. Adding this will stain the agar bed black and make the slime more visible. You can also use food coloring to do the same thing.

4. If using a stovetop:
-
- Heat the mixture while stirring until it comes to a boil
- Turn off heat source and remove the pot
5. if using microwave:
-
- Heat in 30-second intervals, stirring between each
- Continue until solution is clear and fully dissolved
6. Wait 1 minute for agar to slightly cool, do not wait too long or it will solidify before you can pour it.
7. Pour agar solution into your 90mm petri dish until the bottom is fully covered and the base is 2-3mm thick. This is the bed you will grow your slime mold on.
Do not put the petri lid on yet. Let the petri dish sit and cool completely until solidified (about 20 minutes).
8. Once completely cool, it is ready to be the home of your slime.
Activating Your Slime
 The next step is to activate your slime. This will bring it out of hibernation and back to life:
- Have your pipette and distilled water ready
- Place the dried sclerotia piece in the center of the agar plate
- Using your pipette, carefully place ONE drop of water directly on the sample
- Do not oversaturate - one drop is sufficient
- Put the lid on the petri dish
- Keep at room temperature (20-25°C/65-80°F)
- Place in a dark location
- Wait for your slime to activate (12-24 hours)
- If no movement is seen within 24 hours, add ONE more drop of water
Signs Of Successful Activation
A properly activated slime will begin to leave the paper and adventure onto the petri. Once it begins to grow, you re going to want to rinse and feed it regularly.

First Feeding of Your Slime
- Now that your slime has began to grow, it will be hungry.
- Place 2-3 oat flakes on the edge of the blob
- Do not put the food more than 1cm away
- Cover it with the lid
- Keep the plate in dim light or dark room conditions
- The slime will find the food and establish itself

Ongoing Maintenance
In addition to food, your blob will need to be hydrate. Part of your daily routine should be to quickly rinse your blob with cold clean water.
- Gently place a full pipette of water on the petri surface to cover the slime
- Roll the dish around slightly to distribute the water.
- Tilt the petri dish upside down over the sink to allow excess water to run off.
- Add new oat flakes every 2-3 days as needed. Do this after rinsing
- Maintain room temperature conditions
- Keep the petri lid on when not working with it
- Avoid direct sunlight
Get Your Blob Kit!
-
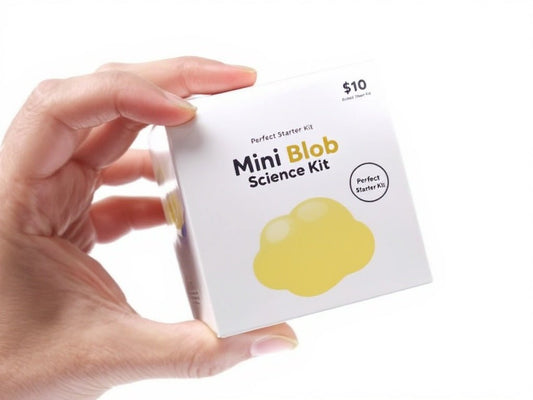
Mini Blob Kit - The Minimum Physarum Polycephalum Project
Regular price $9.99 USDRegular priceUnit price per -
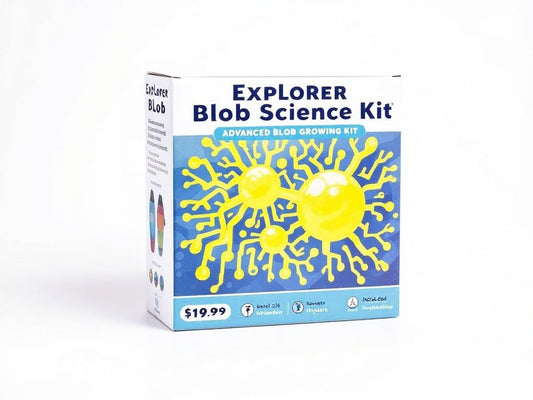
Explorer Slime Mold Blob Kit - The Basic Physarum Polycephalum Experiment
Regular price $19.99 USDRegular priceUnit price per -
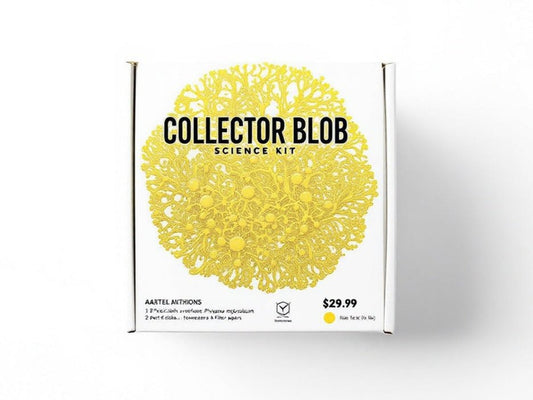
Collector's Slime Mold Blob Kit - The Advanced Physarum Polycephalum Enthusiast Project
Regular price $29.99 USDRegular priceUnit price per -
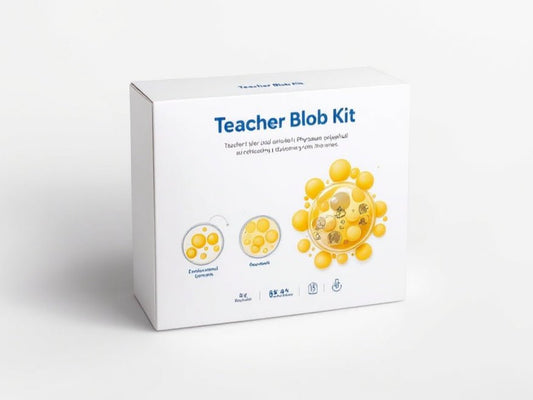
Teacher's Classroom Slime Mold Blob Kit - The Physarum Polycephalum Project
Regular price From $25.00 USDRegular priceUnit price per$0.00 USDSale price From $25.00 USD